All new parts were used where possible.
Electrics on the Schwimmwagen have been converted to 12V
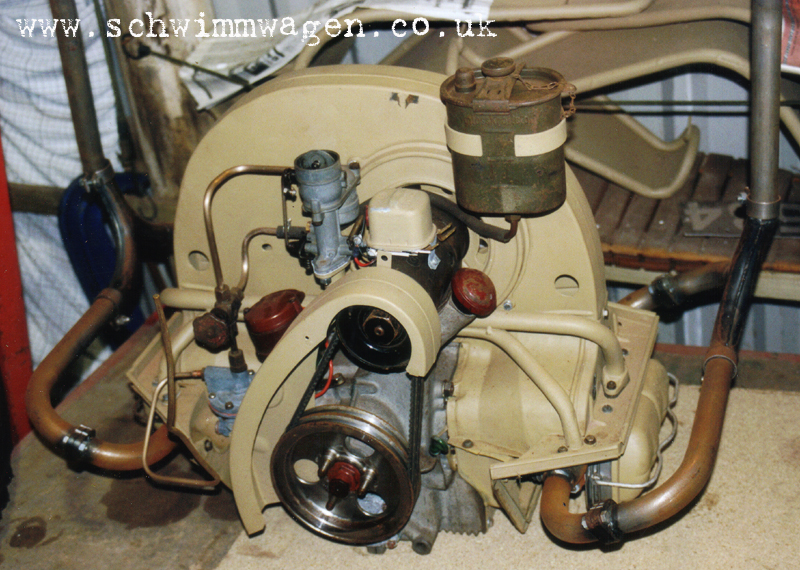
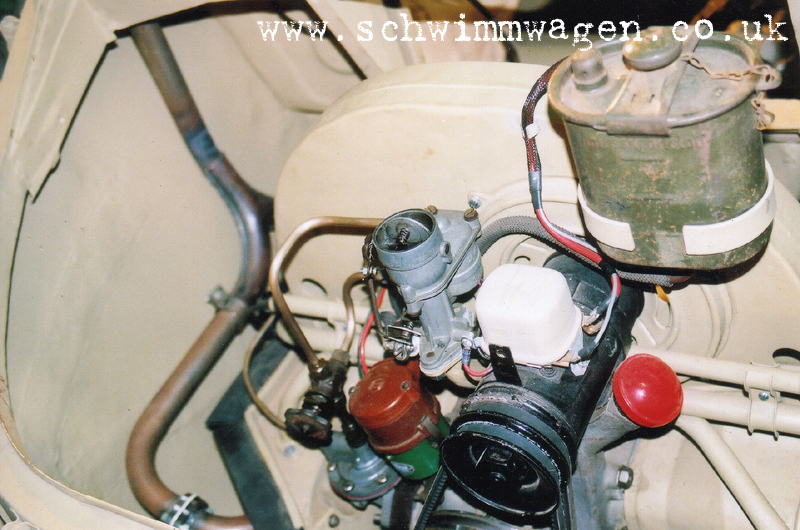
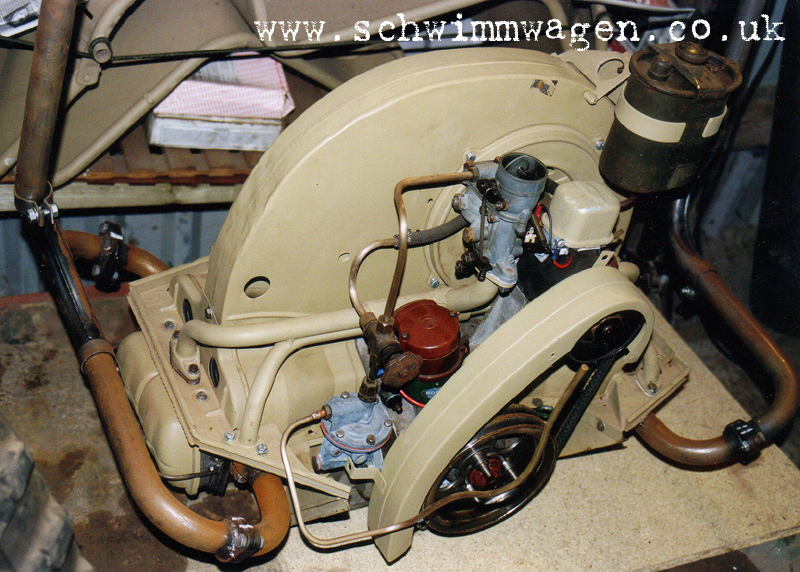
Engine assembled and ready for final installation.
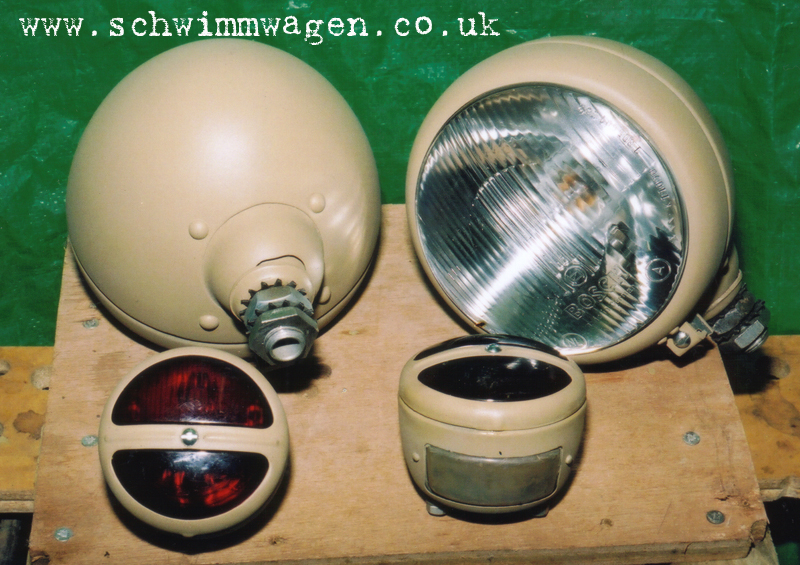
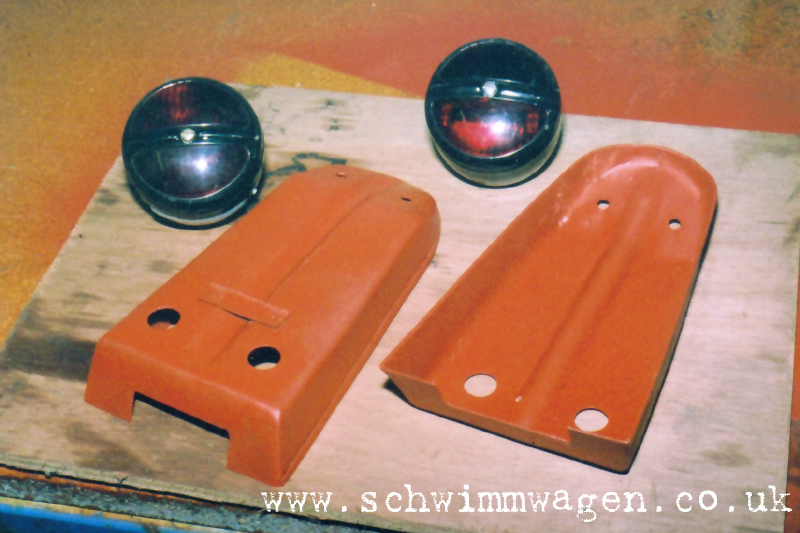
Front & rear lights, restored, repainted and ready for final fitting and wiring. These now run on a 12V supply for improved road safety.
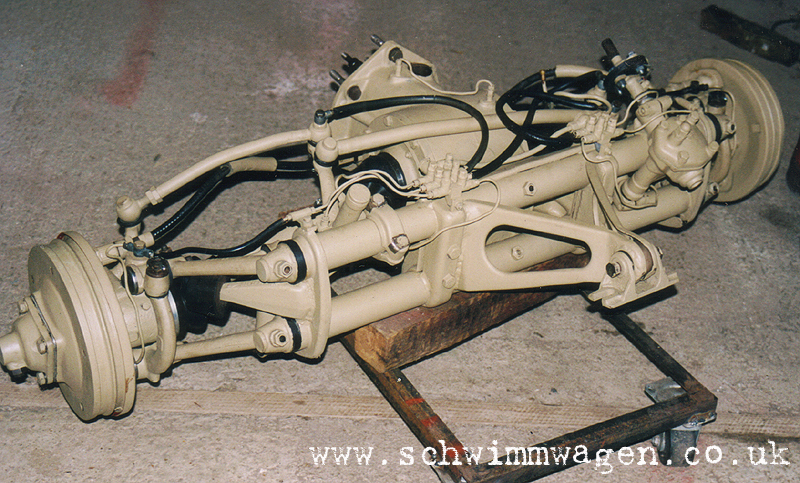
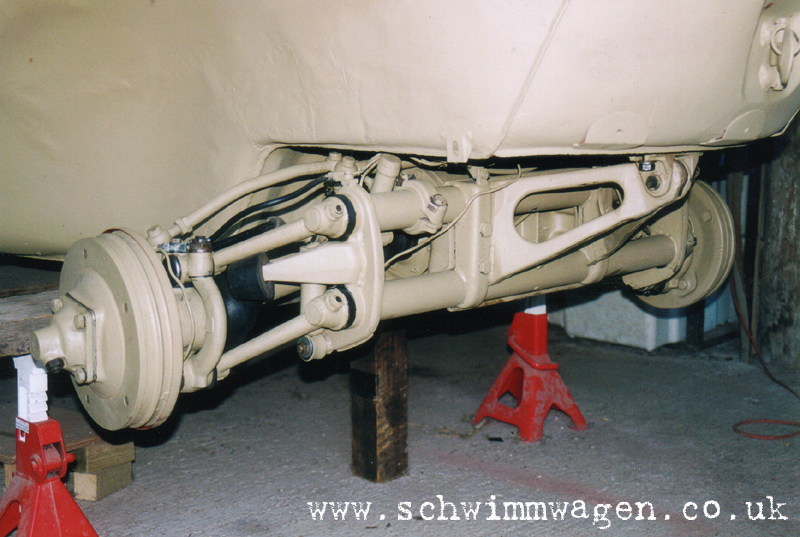
Front axle fully restored, refurbished and repainted. Where ever possible new seals, bearings and brake cables were used.
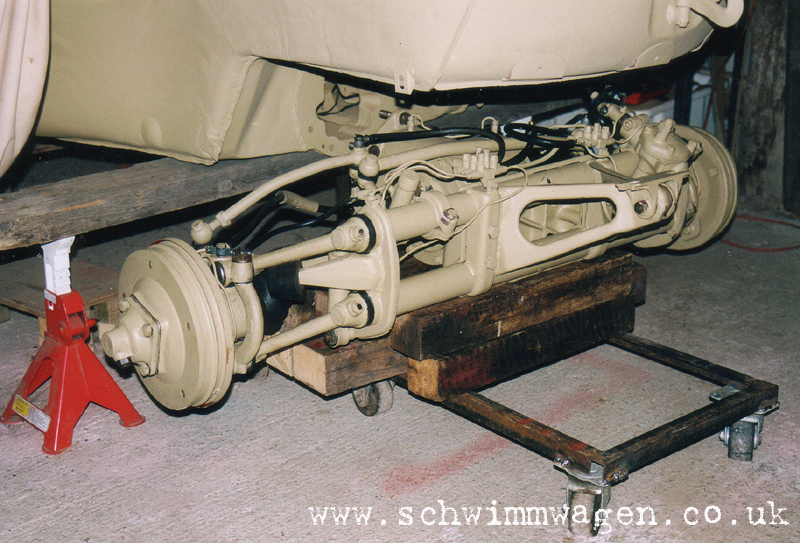
Offering up the front axle to the tub.
This gallery contains various images of the Schwimmwagen during it's 4 year restoration here in the UK, every stage of the restoration was maticulously photographed and logged, over 5 photo albums were filled with images taken at various stages of the build:
Front axle fitted, this entire unit was refurbished by a specialist company in Germany.
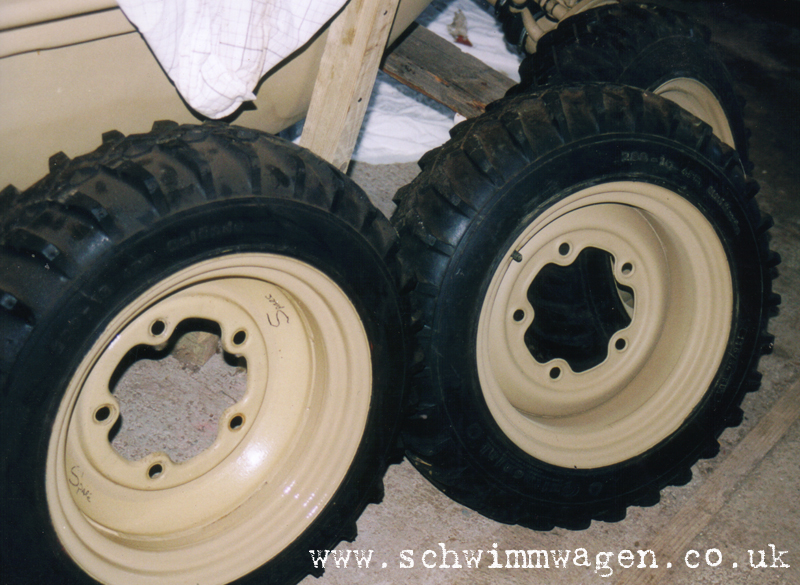
Restored wheels and tyres ready to be fitted. The Continental tyres were purchased new by one of the previous owners in 1990.
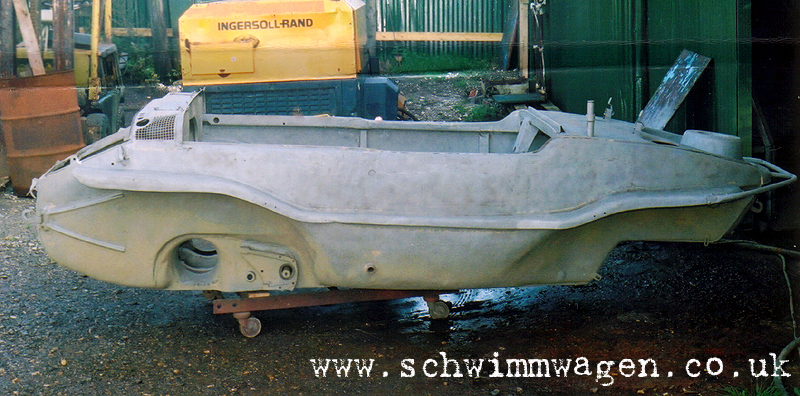
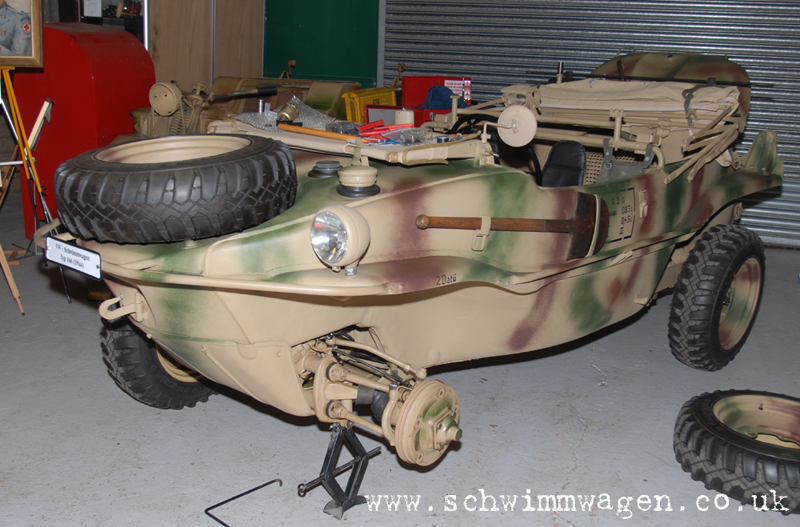
Rear three quarter view.
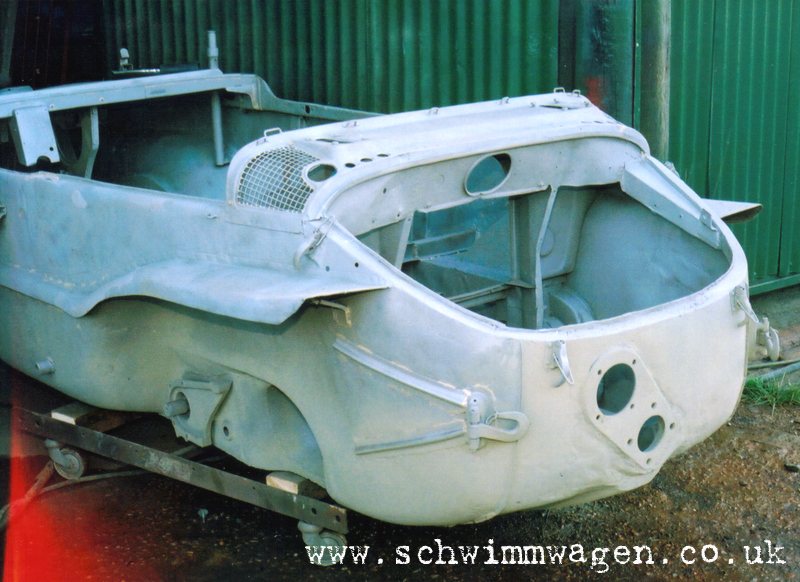
The original chassis was sand blasted back to bare metal prior to restoration.
Rear view with engine lid removed.
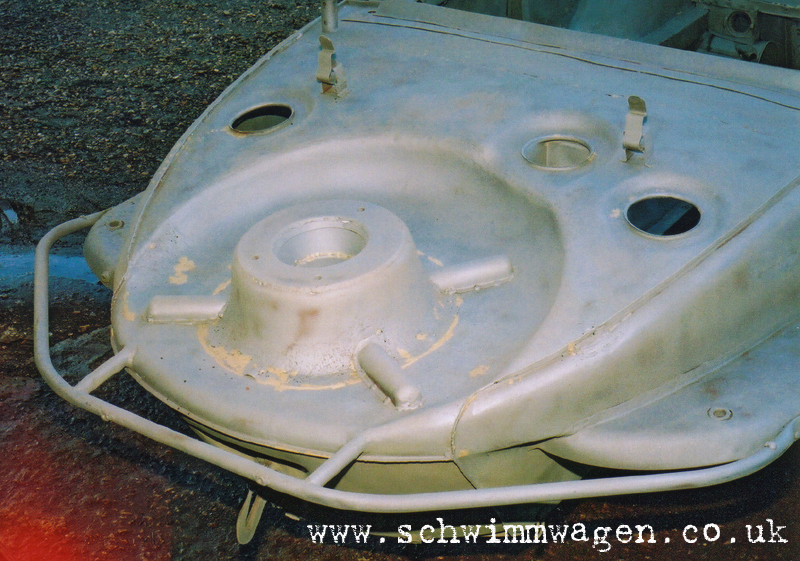
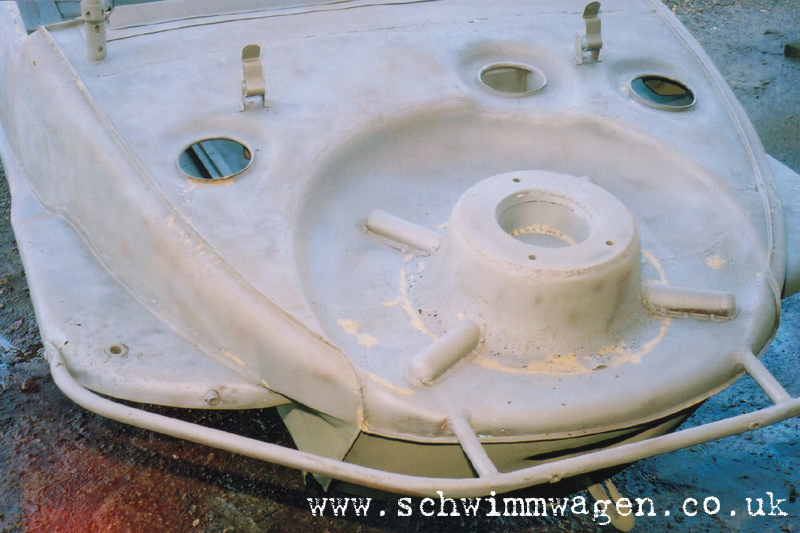
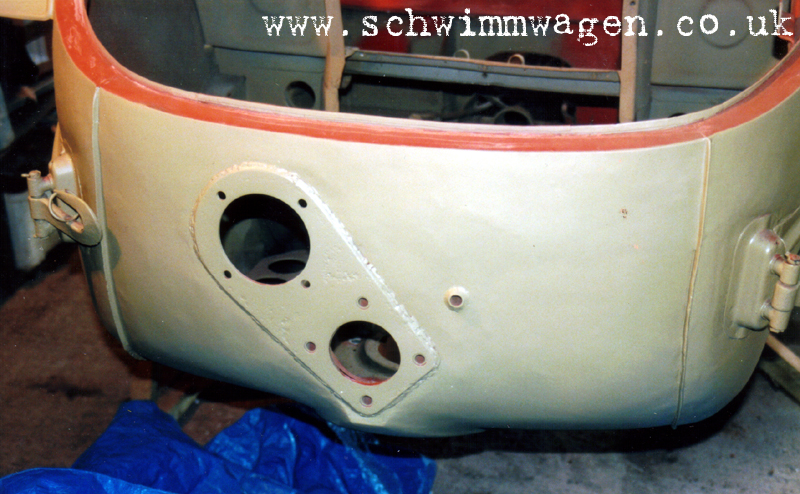
Openings for the two 25 litre fuel tanks and central lubrication pump.
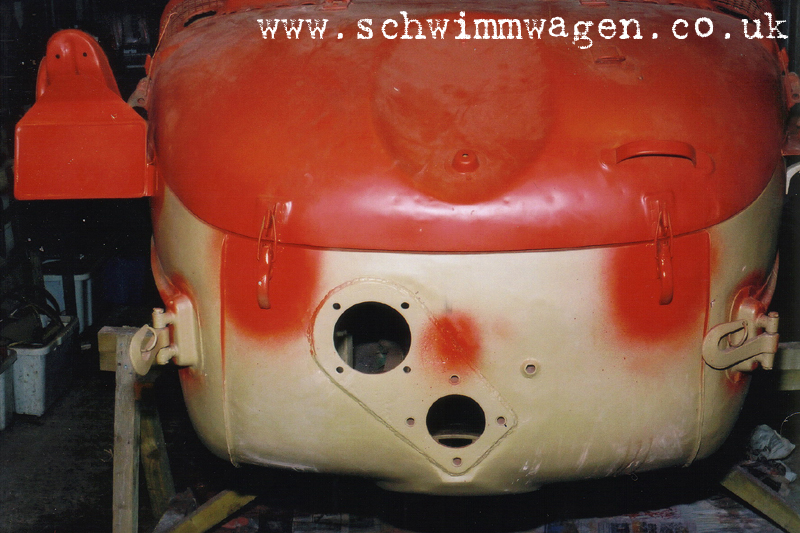
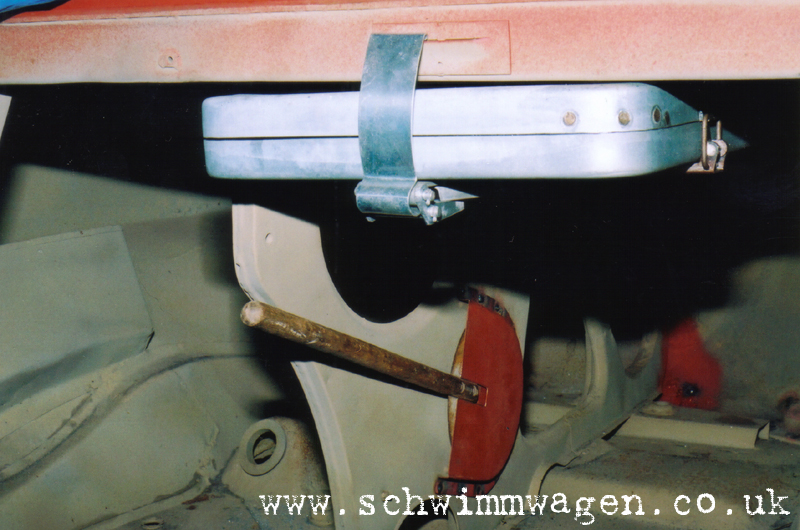
Front view showing spare wheel supprt.
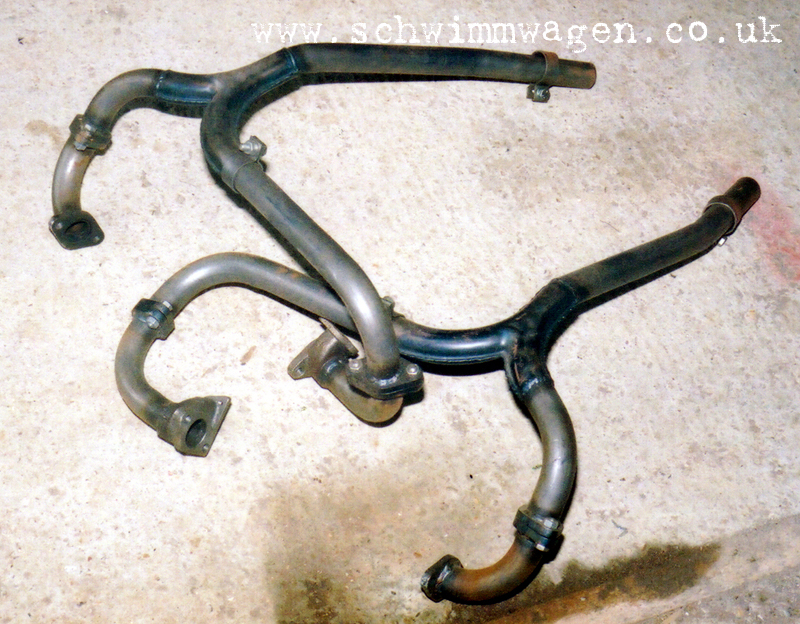
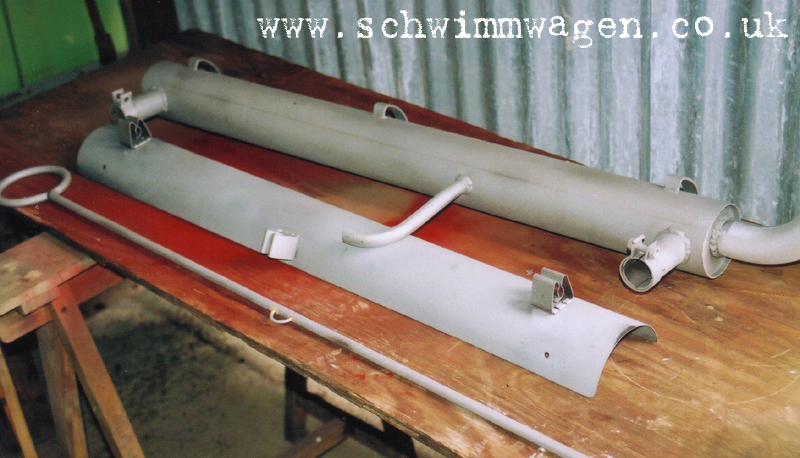
New exhaust pipes ready for fitting.
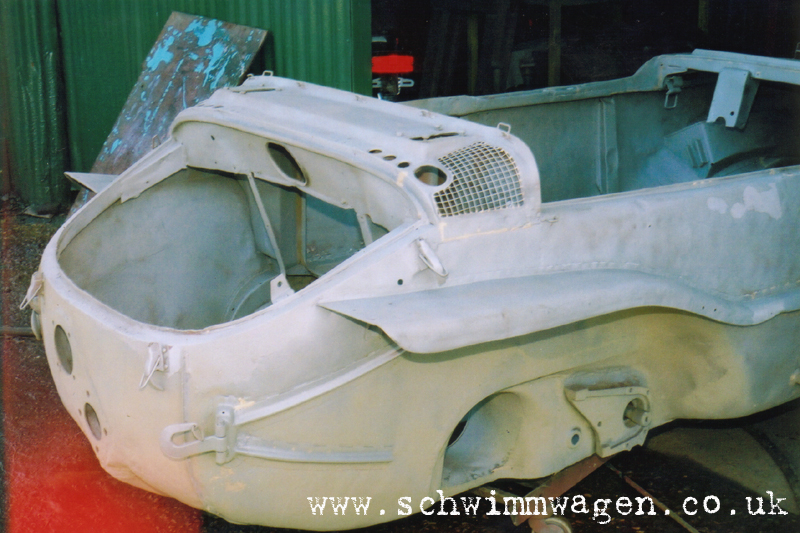
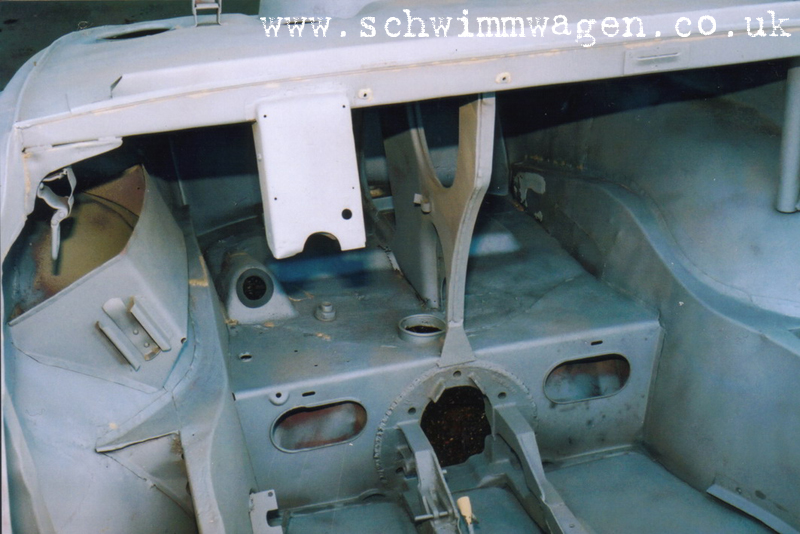
Inner footwell devoid of paint, as you can clearly see the minimum amount of filler was used to repair the body.
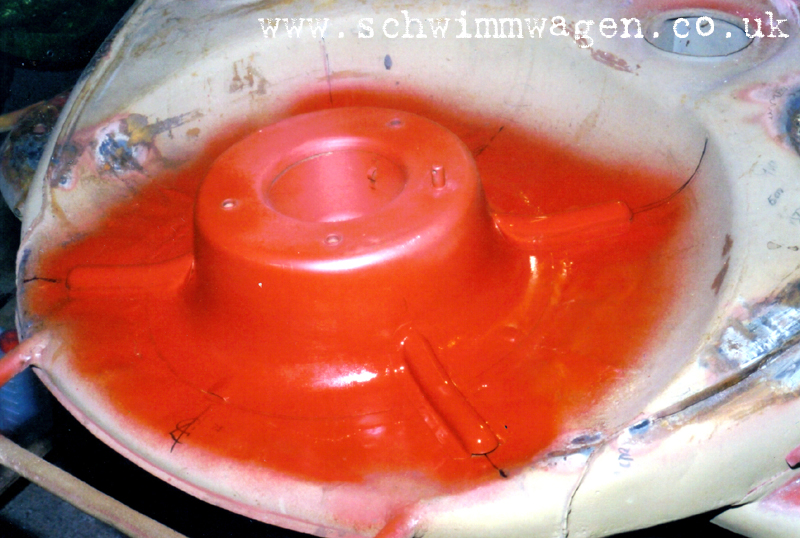
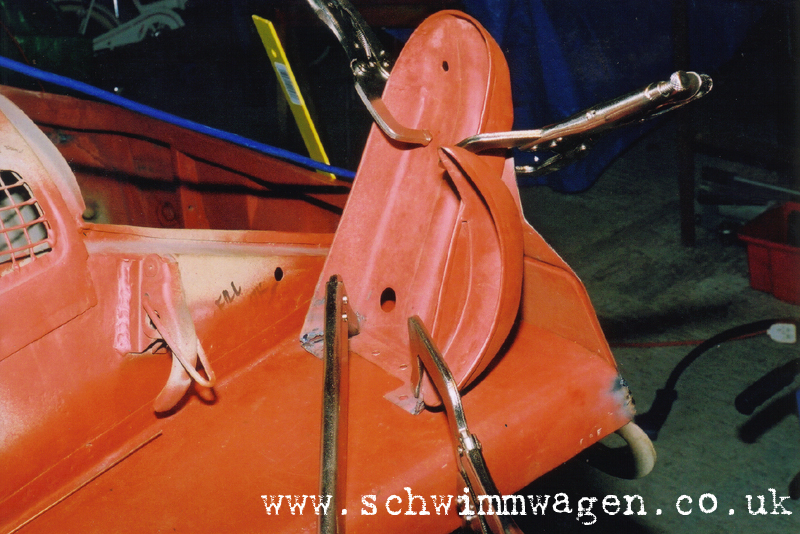
Spare wheel support primered.
Underdash toolbox and Winkerkelle (Traffic Wand) fitted.
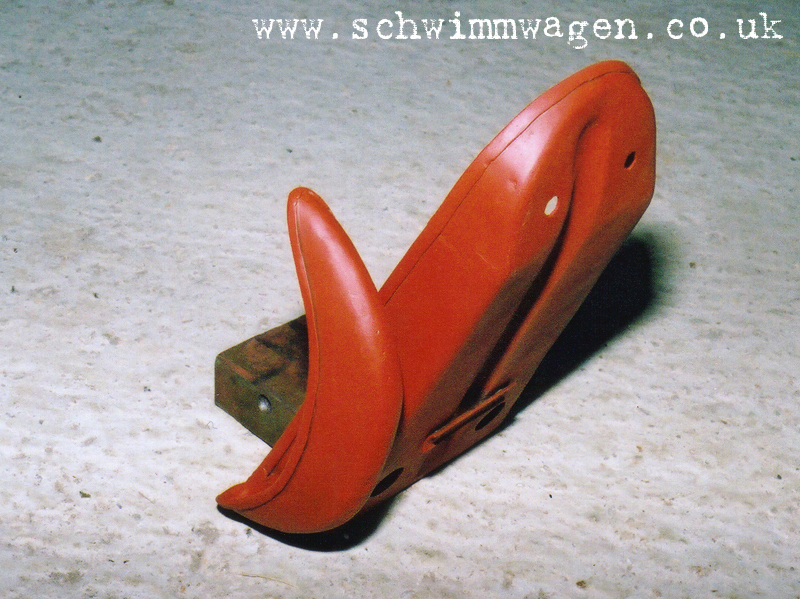
Rear propeller support refurbished and ready for final assembly.
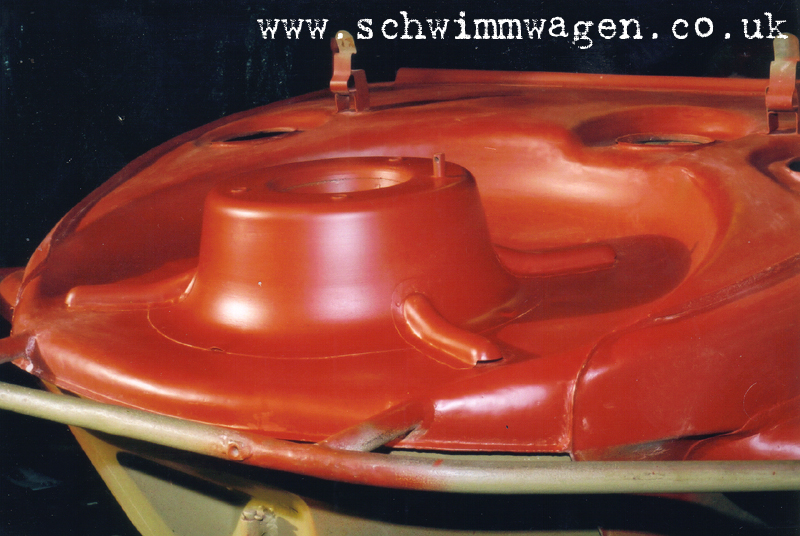
Rear end primered and ready.
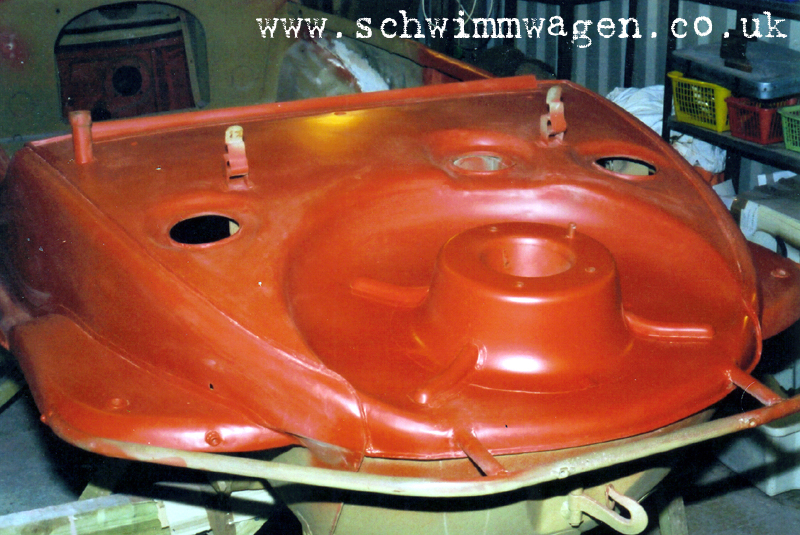
Front upper body primered and ready.
Another view of the front upper body section.
Rear light and oar support cradle ready to attach to rear wing.
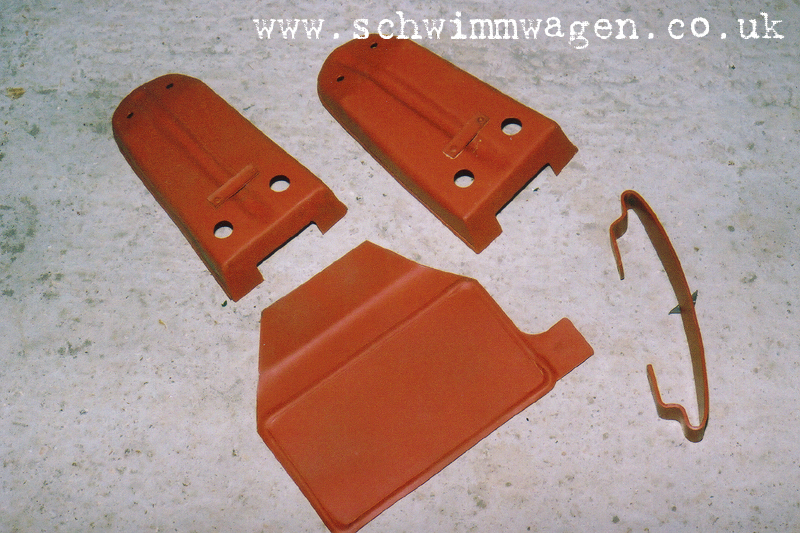
Shovel bracket, rear number plate and rear light brackets primered.
Rear lights and rear light supports ready for fitment.
Rear light and oar support cradle ready for final fitment.
Three quarter view of the engine prior to fitting.
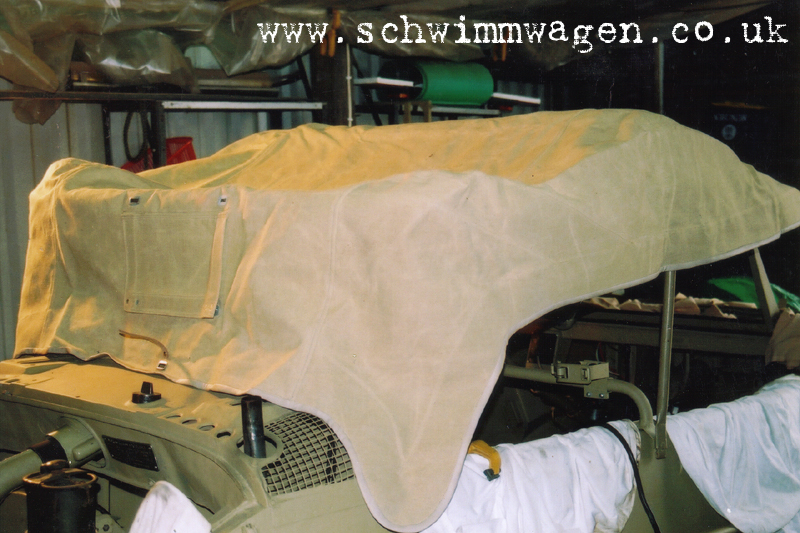
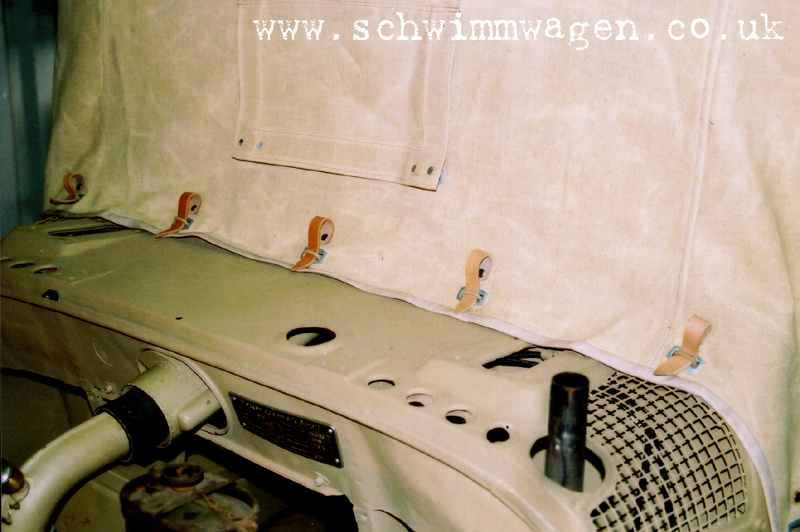
Final stages of the hood fitment.
First fitment of the new hood, the hood was test fitted many times and allowed to soak in water to ensure maximum shrinkage had occured before final trimming.
First stages of the engine installation.
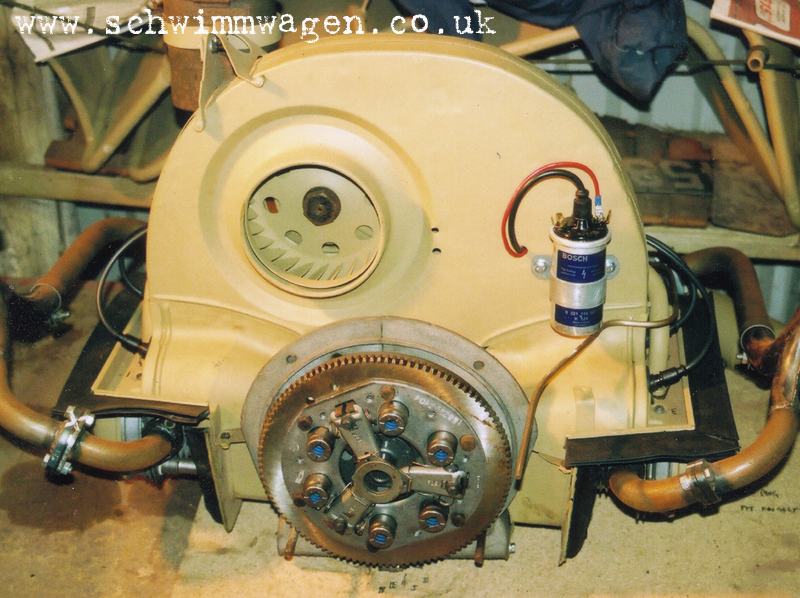
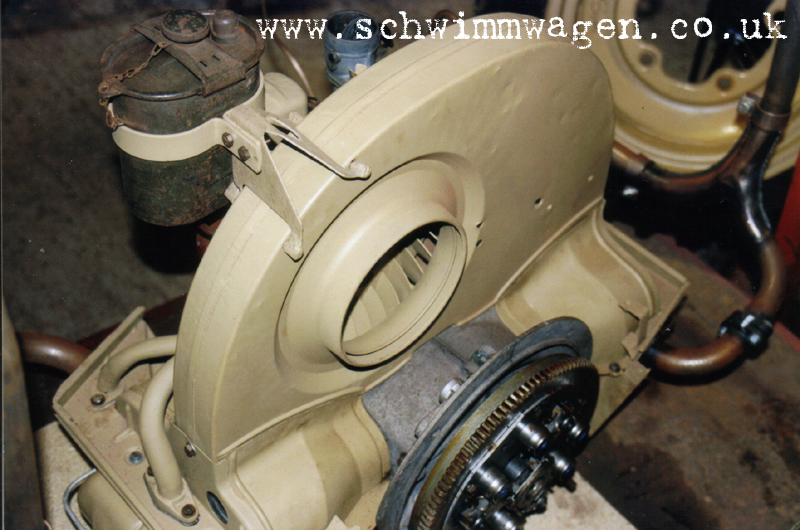
Rear view of the engine showing the intake impeller.
New exhaust pipe, shield and propeller lowering rod, bead blasted and ready for primering.
Fixing the Horn wiring which runs through the steering linkage and then she's ready for the road or river!
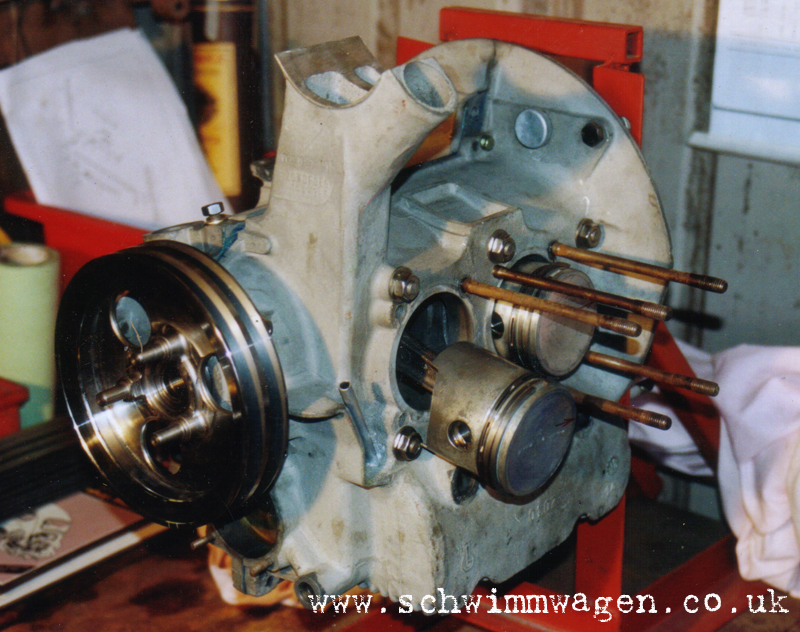
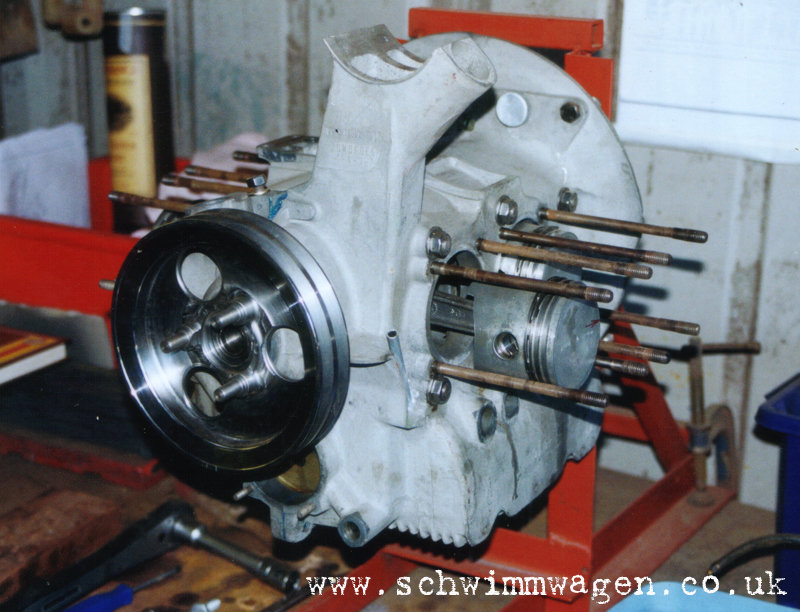
Final assembly of the engine underway, the completed engine still requires around 500 miles of "running in".